@cjerrington Nice post. out of curiosity why do you do this:
$inputXML -replace 'mc:Ignorable="d"', '' -replace "x:N", 'N' -replace '^<Win.*', '<Window'
??
i AM NOT AN XAML EXPERT!
Powershell GUI with WPF
29 May, 2023
Recently I have been into writing more scripts with a GUI or a windowed application for better and more user friendly support. This has been a game changer in some productive ways not only in the application I am writing but also in the design of the application.
Getting Started
To get started we'll need a few things:
- Microsoft Visual Studio (Community edition is fine)
- Visual Code or any other text editor
- Powershell 5 and/or Powershell 7 (I prefer the MSI package)
To begin
After installng Microsoft Visual Studio, create a new WPF Application (.NET Framework) project. Then proceed with naming and saving your project.
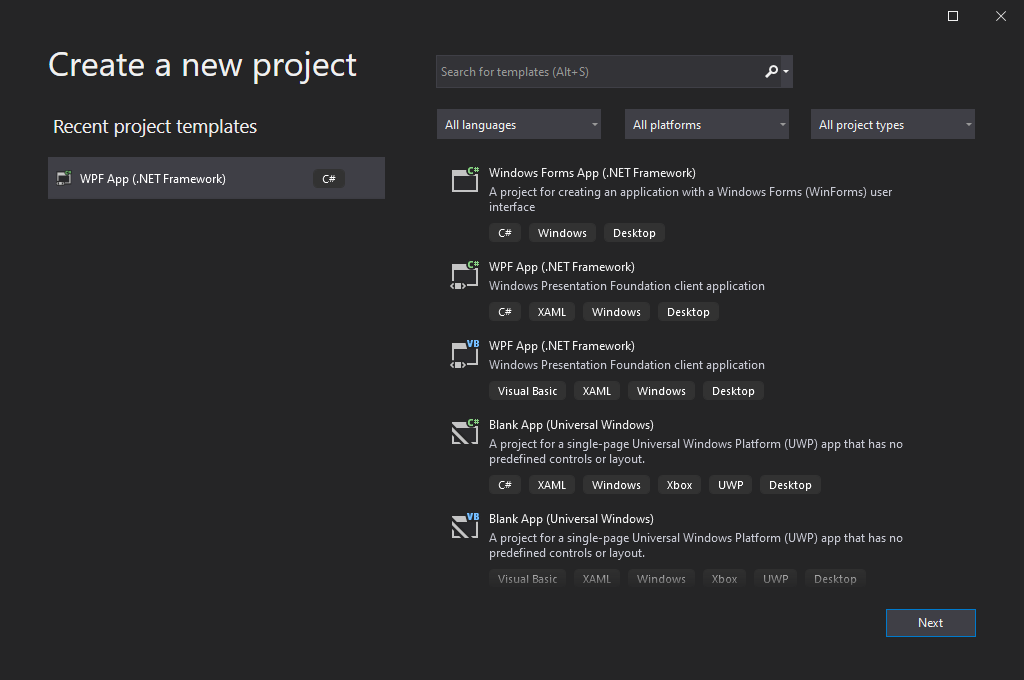
Now when we first see our new project window we can use the toolbar, which is defaulted to the left of the screen, to add our form elements and drag them around the window to place them where we want.
The sample design
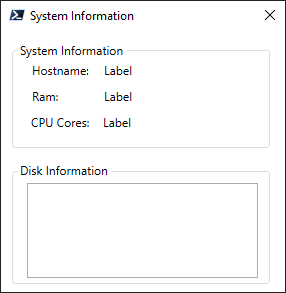
For the example here I have a simple System Information window I am making.
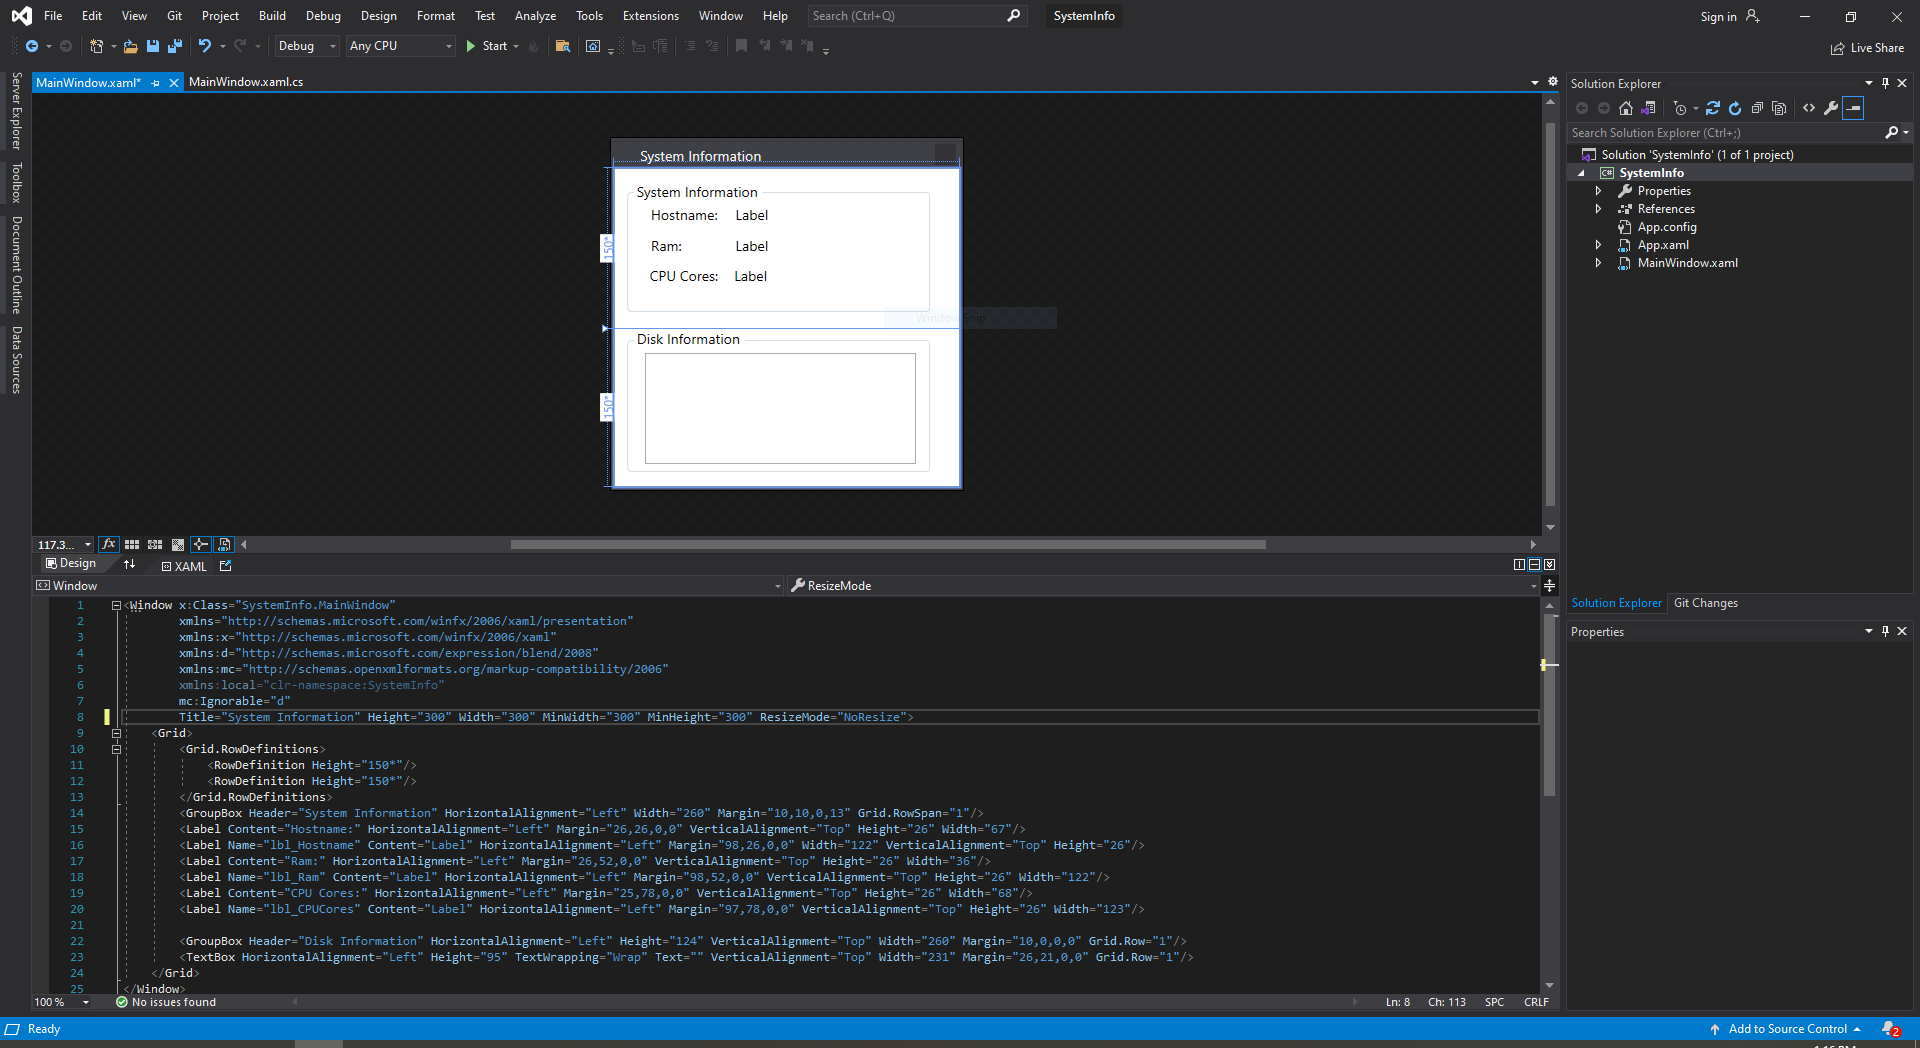
As you can see I have added a few labels and a text box area. The labels on the left I will leave as our identifying labels and the ones on the right will have the values added to them later.
It will be okay to leave the default text of "label" here as it will be updated once the script runs. Also while in the design side will allow us to see how much space is in use if we need to add other items around it.
Loading the Powershell
Now that we have our design we need to build out our Powershell to load the XMAL code. Create a new Powershell file and add the PresentationFramework .NET assembly to the script so we can interact with the WPF object later.
Add-Type -AssemblyName PresentationFrameworkNext we need to know where the XMAL file that contains the XML based layout of our GUI. This will be the MainWindow.xaml file of our project.
# where is the XAML file?
$xamlFile = "MainWindow.xaml"
Once the file is found the script will need to import the contents, parse the xaml and begin other .NET assembly imports as needed.
#create window
$inputXML = Get-Content $xamlFile -Raw
$inputXML = $inputXML -replace 'mc:Ignorable="d"', '' -replace "x:N", 'N' -replace '^<Win.*', '<Window'
[xml]$XAML = $inputXML
#Read XAML

$reader = (New-Object System.Xml.XmlNodeReader $xaml)
try {
    $window = [Windows.Markup.XamlReader]::Load( $reader )
}
catch {
    Write-Warning $_.Exception
    throw
}
After the imports are successful, we can generate the Powershell based variables based off the Name or x:Name attributes in the WPF applciation. The Variable will be named as var_<control name>.
#Create variables based on form control names.
#Variable will be named as 'var_<control name>'

$xaml.SelectNodes("//*[@Name]") | ForEach-Object {
    #"trying item $($_.Name)";
    try {
        Set-Variable -Name "var_$($_.Name)" -Value $window.FindName($_.Name) -ErrorAction Stop
    } catch {
        throw
   }
}

Get-Variable var_*
The Get-Variable var_* will then outpu to the screen the name of the variables it found in the XAML that we can now use in our Powershell script to modify and add context to. Only the labels with the Name attributes are found so we don't need to worry about the display labels being changed on the runtime.
Name                           Value
----                           -----
var_inpt_diskInfo              System.Windows.Controls.TextBox
var_lbl_CPUCores               System.Windows.Controls.Label: Label
var_lbl_Hostname               System.Windows.Controls.Label: Label
var_lbl_Ram                    System.Windows.Controls.Label: Label
Lastly, we need to tell Powershell to show the window for us.
$Null = $window.ShowDialog()You can now run the Powershell script and see the basics of what we created.
Updating our GUI
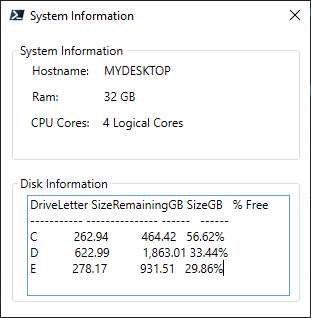
Now that we have confirmed the variables we can use in our Powershell script lets do some updates to them.
For updating our GUI elements we will use the same methods as we would for a C# application. For the labels we have today, we will use .Content to update the values. The TextBox does not have a .Content but rather than .Text. This example we will need to tell Powershell to make a string of the object we will create with the Get-Volume command. Other times you should be able to pass along plain text and have it render in the TextBox.
# Do Work
$totalRam = [Math]::Round((Get-CimInstance -Class win32_computersystem).TotalPhysicalMemory/1Gb)
$totalCPU = (Get-CimInstance –ClassName Win32_Processor).NumberOfLogicalProcessors
$props = 'DriveLetter',
         @{Name = 'SizeRemainingGB'; Expression = {"{0:N2}" -f ($_.SizeRemaining/ 1Gb)}},
         @{Name = 'SizeGB'; Expression = {"{0:N2}" -f ($_.Size / 1Gb)}},
         @{Name = '% Free'; Expression = {"{0:P}" -f ($_.SizeRemaining / $_.Size)}}

$Diskmgmt = Get-Volume | Select-Object $props | Sort-Object DriveLetter | Format-Table

# Update Labels
$var_lbl_Hostname.Content = $env:COMPUTERNAME
$var_lbl_Ram.Content = "$($totalRam) GB"
$var_lbl_CPUCores.Content = "$($totalCPU) Logical Cores"
$var_inpt_diskInfo.Text = $Diskmgmt | Out-String
Wraping up
Now that we have our simple script to know about the window elements and Powershell has imported and rendered things, we can now run the script and see the final result!
This was a simple way to add a GUI using WPF to your Powershell scripts. There are many more and complex things you can do with these as well once you include buttons, checkboxes, and other GUI elemnts. Fun items like OnChange events are real powerful and fun to work with.
Powershell still has a great use case for desktop and server environments and the portability of it as well. This has changed how I think about creating a new script for my self and others. Everyone can use the command line, but most are affraid, so why not incorporate a little of both and have a potentially better outcome. I've seen simple IT Helpdesk style Powershell windows that run in the system tray, to items much more complex.
The possiblities are endless, and with WPF as the future of Powershell, .NET, C# and Microsoft, it only makes sense to keep going.
I'm publishing this as part of 100 Days To Offload. You can join in yourself by visiting 100DaysToOffload.com.
Tags: coding, powershell, windows, 100DaysToOffload
Webmentions
If there are replies, they will show below.
3 Likes 2 Reposts
2 Replies
@DoctorDNS Within the XAML the naming of variables can either be x:Name or Name, same with some of the Window elements. So Later on when we do the $xaml.SelectNodes() we are looking only for Name and then make a Powershell variable out of it. Also helps parse the XAML for the System.Xml.XmlNodeReader to then load the Xaml content. some of these items might also be needed for the C# compiler, but not Powershell
Found an issue? Edit on Github
← Back home